Your shopping cart is empty!
0 0 item(s) - $0.00
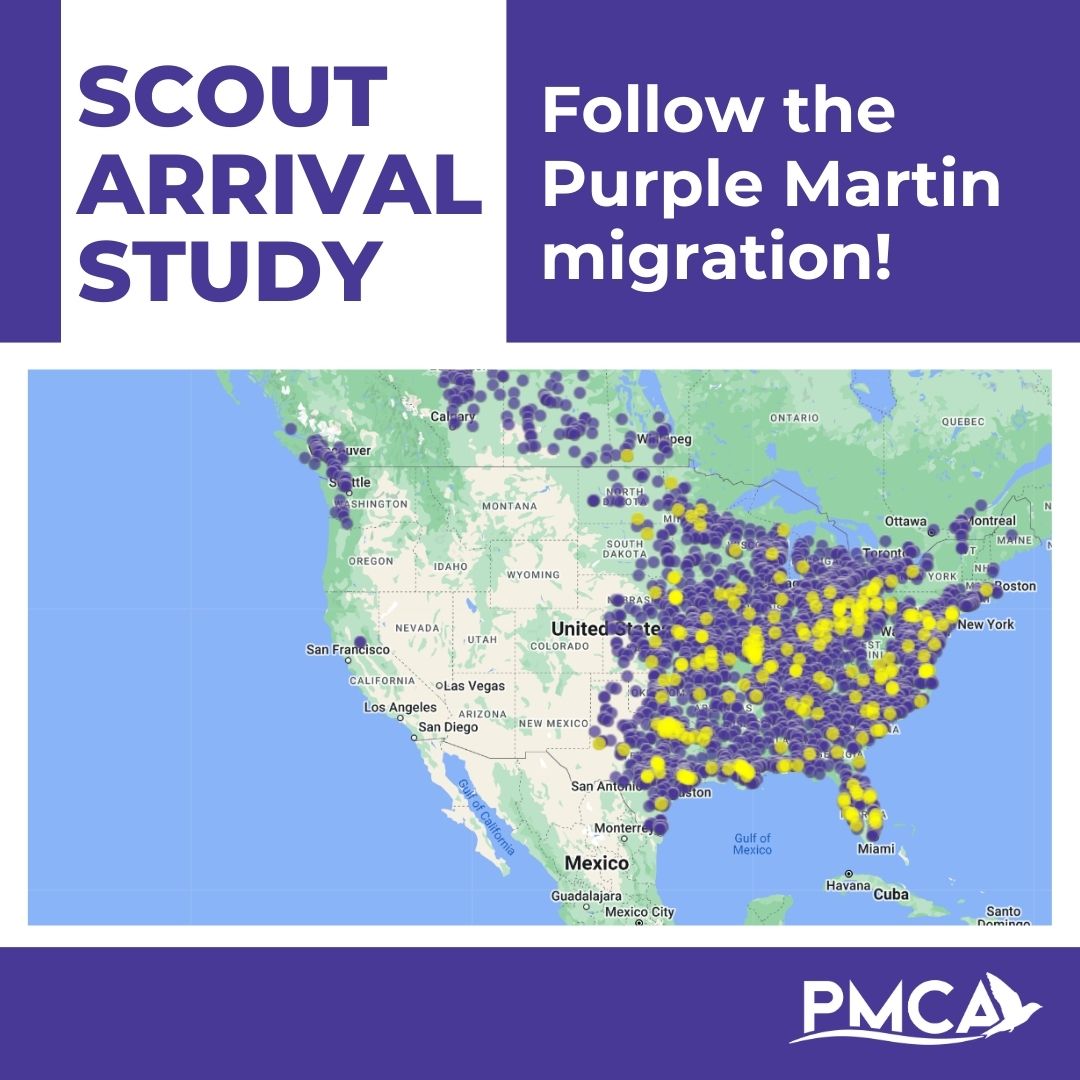
2023: A Purple Martin Nest Story
Download the 2024 Martin Market Place Supply Catalog
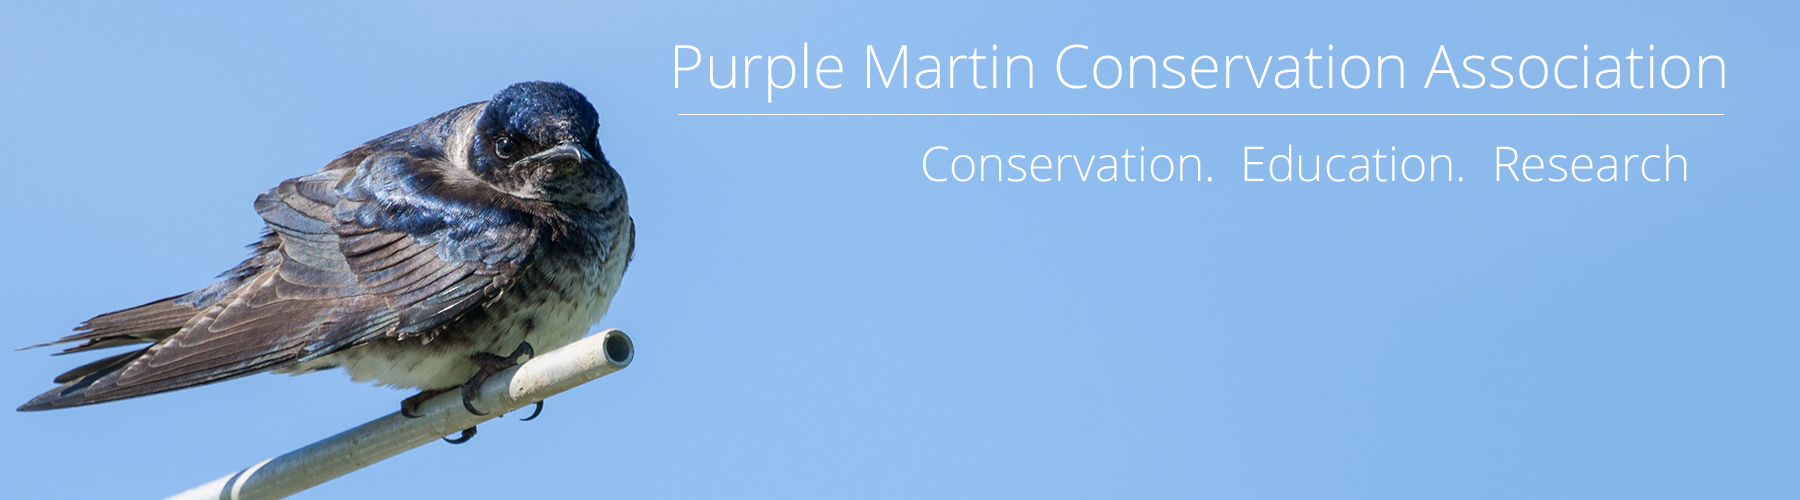
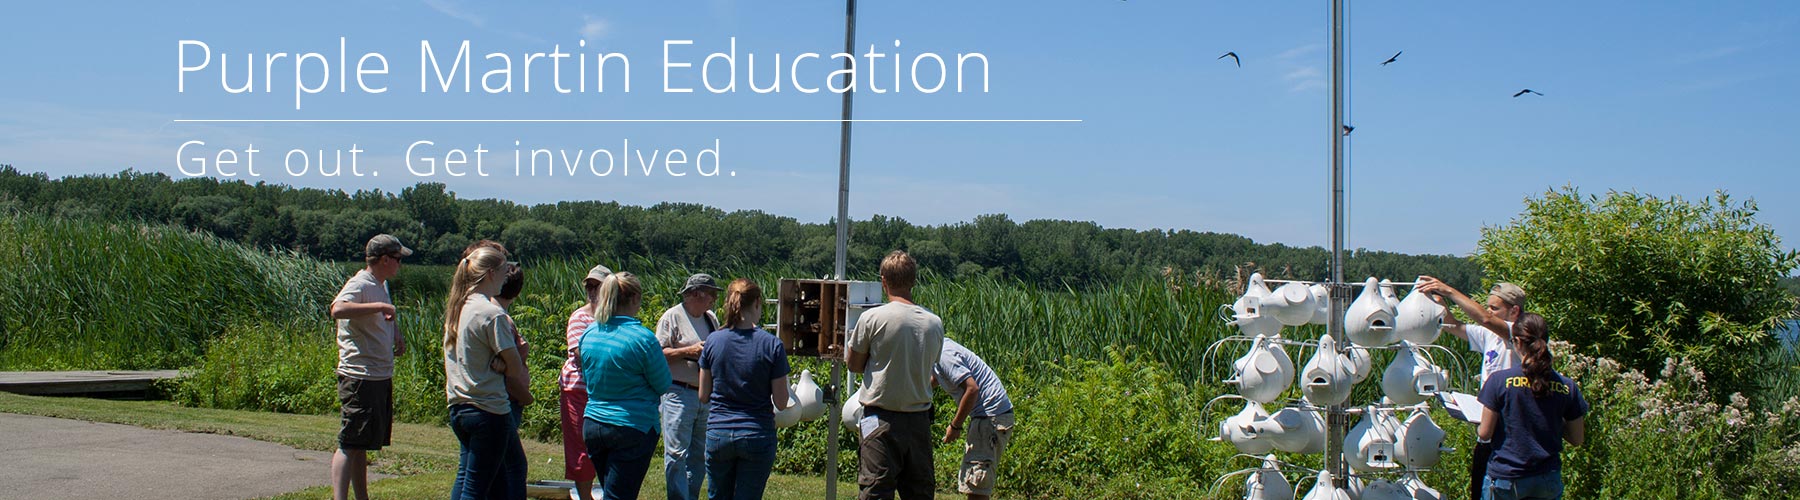
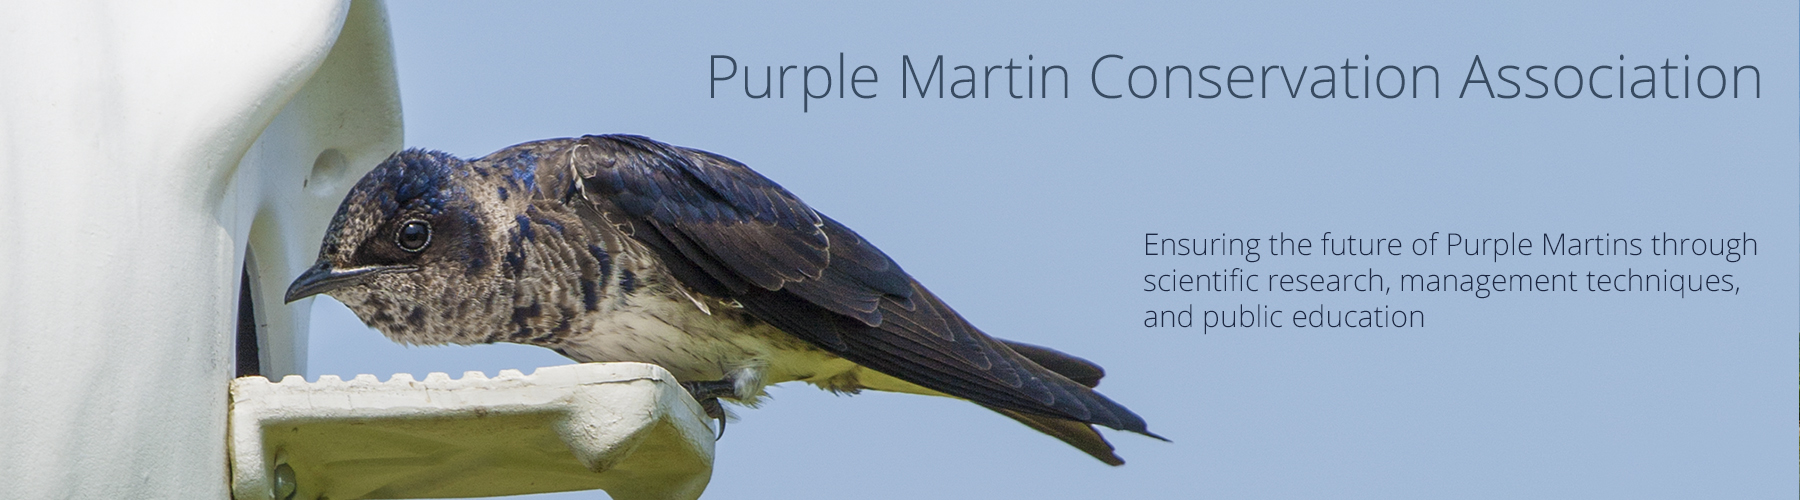
The Purple Martin Conservation Association (PMCA) is a 501 (c) 3 nonprofit organization dedicated to the conservation of Purple Martins (Progne subis) through scientific research, state of the art management techniques, and public education, with the end goal of increasing martin populations throughout North America.
The PMCA is funded by membership contributions, donations, grants, and proceeds from the sales of Purple Martin supplies. Membership and contributions are tax deductible.


